「M5StackCoreInk」と「toioコアキューブ」と「LEGO」でなにかしたVTuber
完成
© CC BY 4+
560
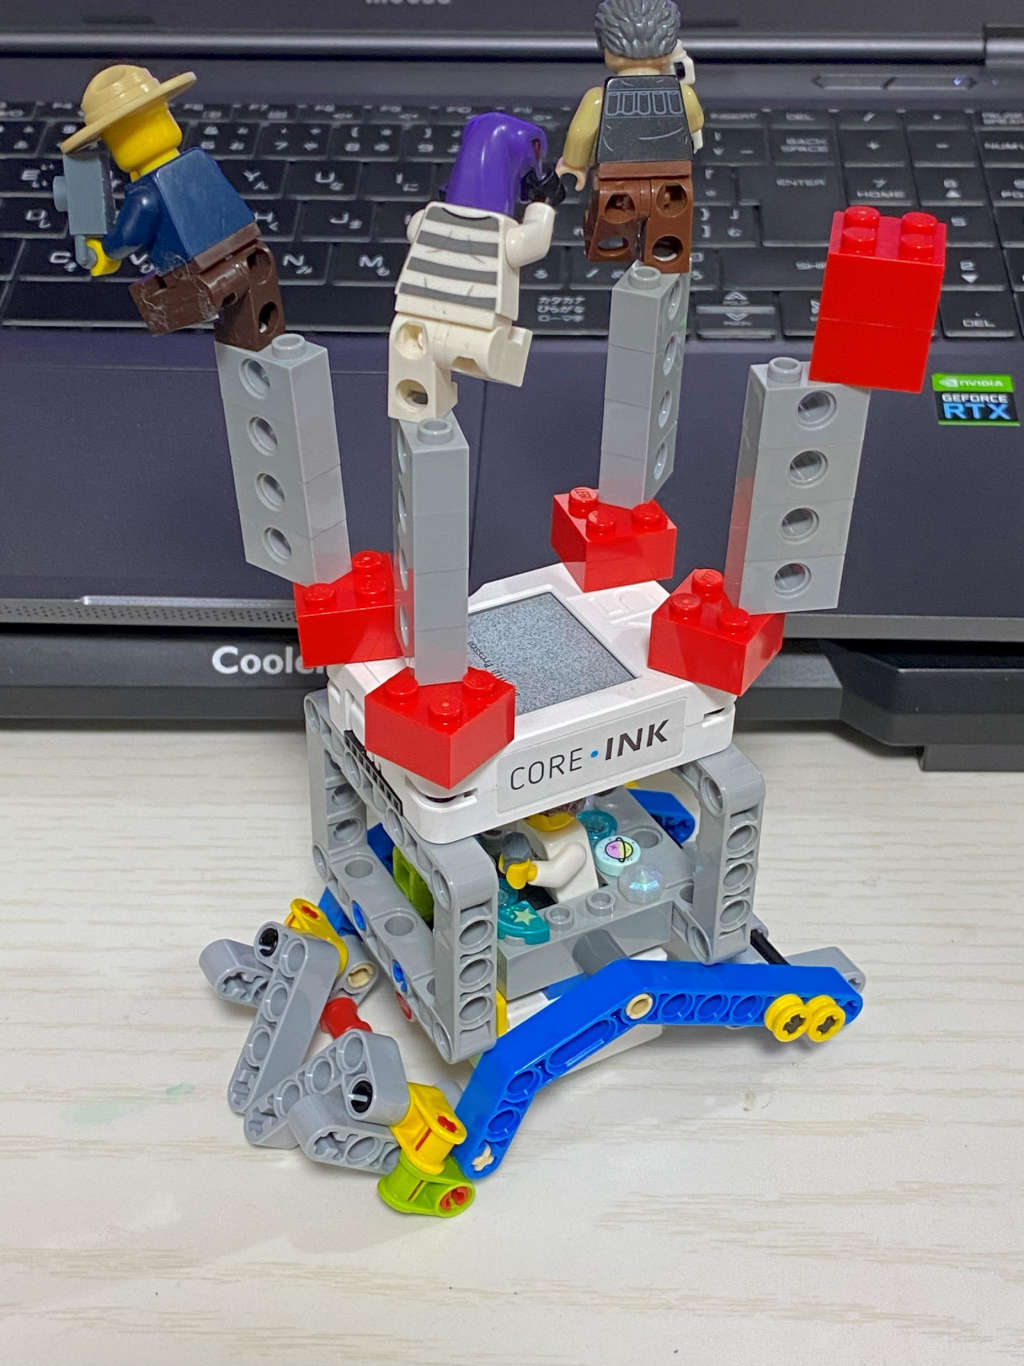
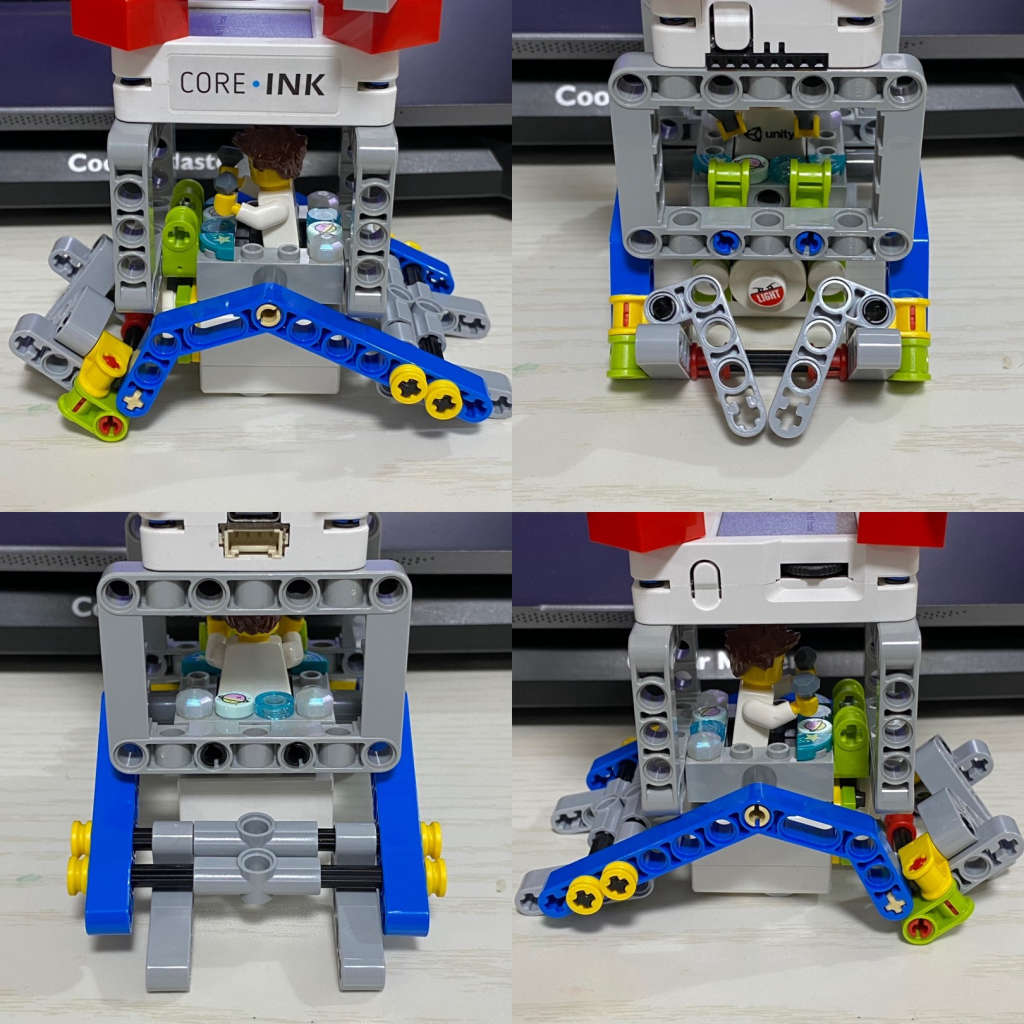
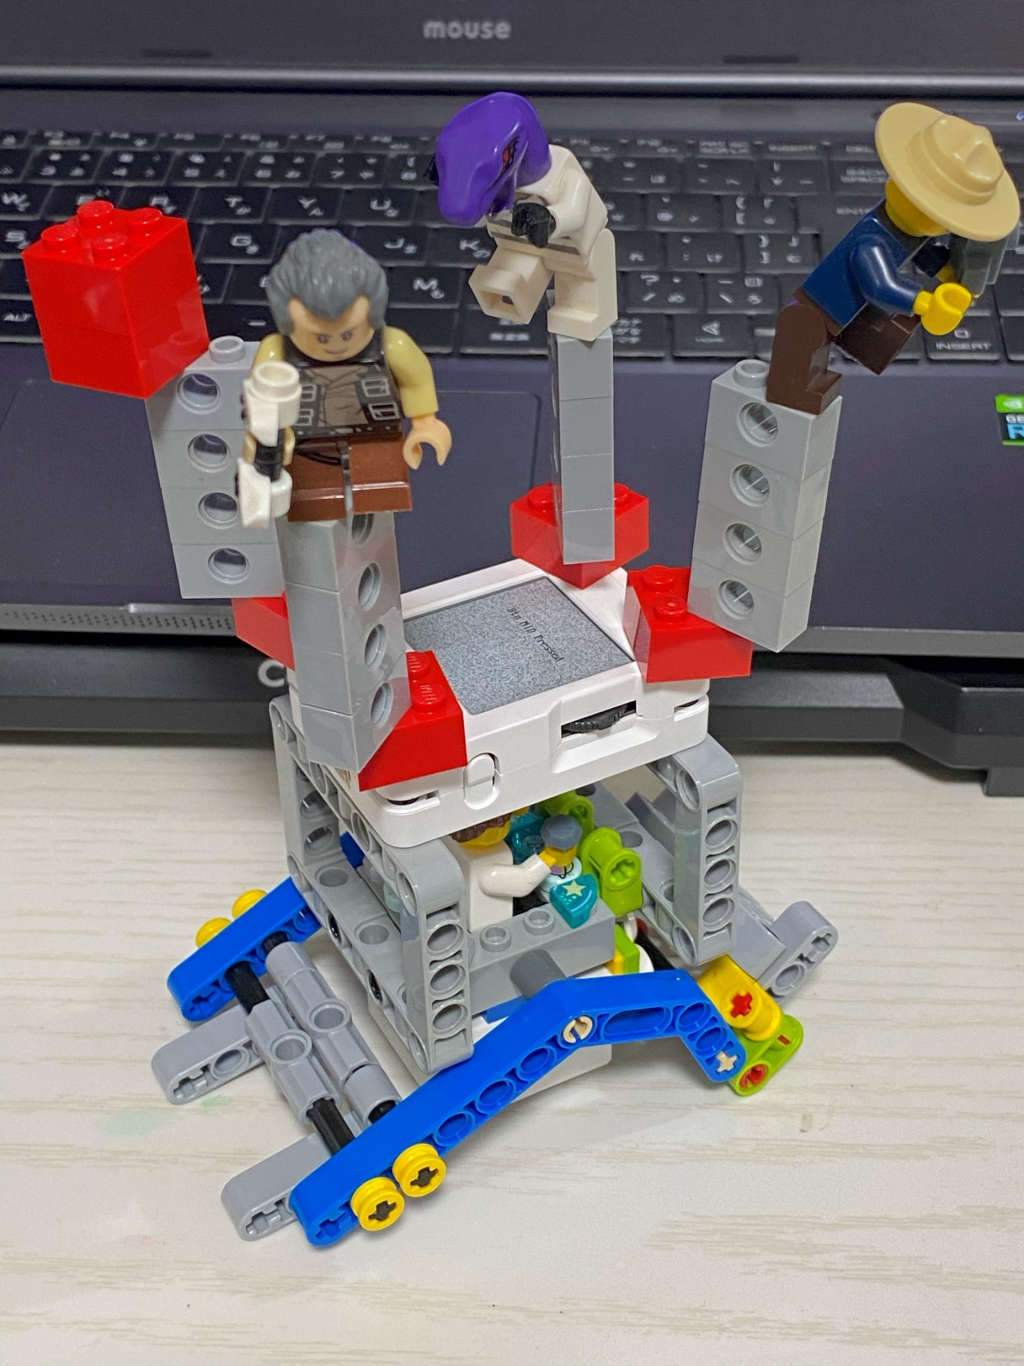
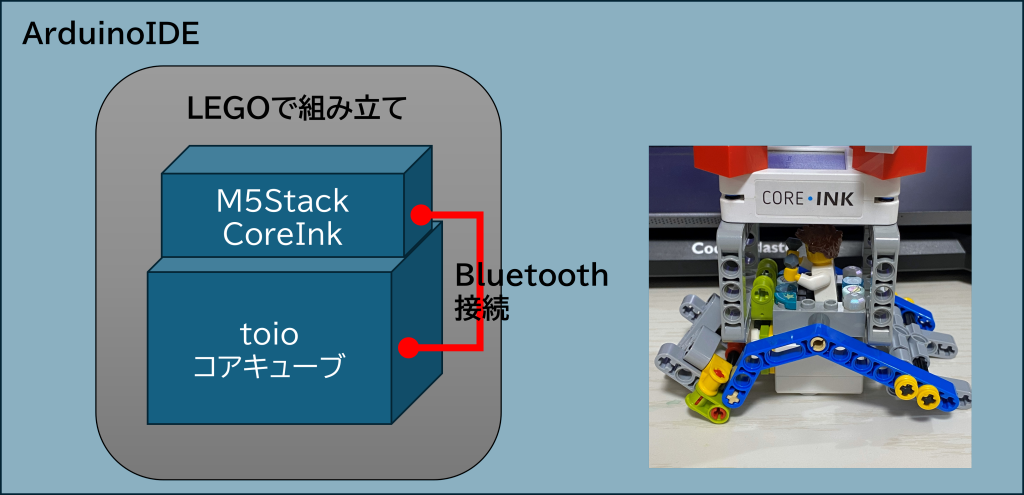
toioコアキューブの上に、M5StackCoreInkを乗せて、Bluetooth接続したうえで、なるべく不安定な状態でいろいろ動かしてみた作品です。LEGOによる姿勢制御に注目です。

- 動画
-
- 開発素材
-
ガジェット
- システム構成
-
- ストーリー
-
- メンバー
-
-

- うのっち🍝 @sanpeita
-
-
- 関連イベント
-
-
 M5Stack Japan Creativity Contest 20242024-06-01 開催
-
- 関連リンク
-

-
-
-
-
- 同じニオイがする作品
-
-
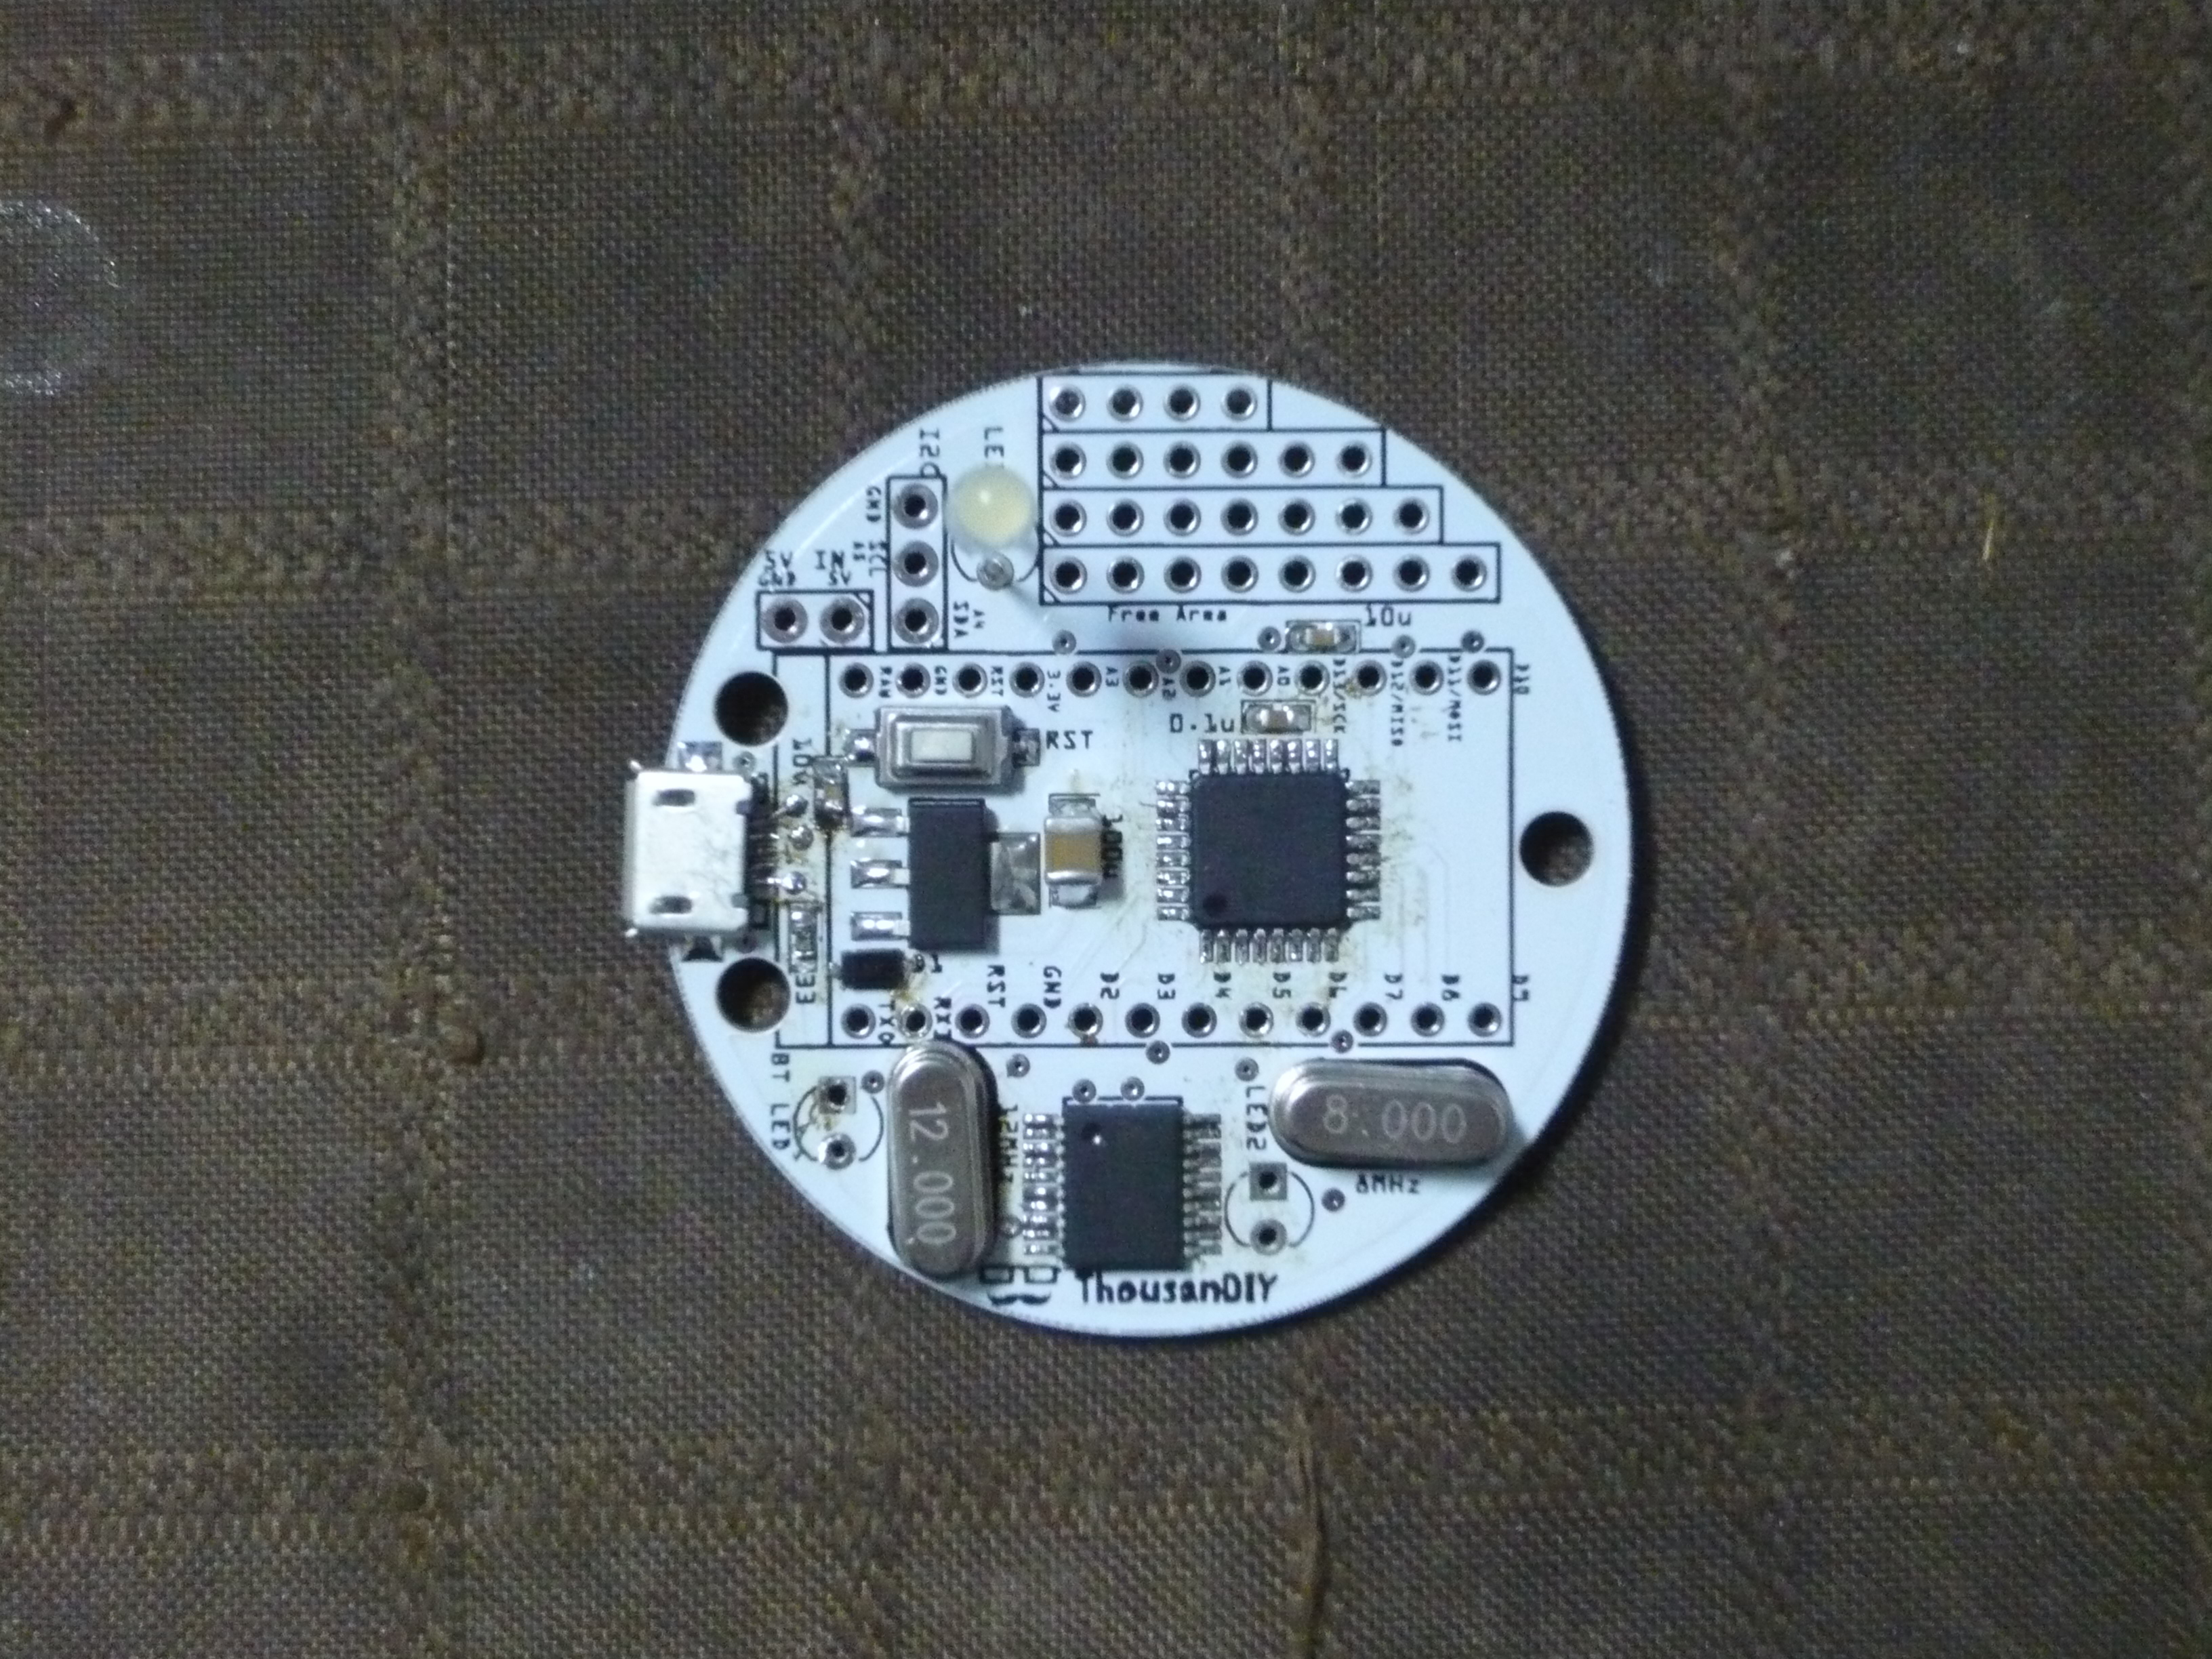 丸いArduino互換機「Maruino」
-
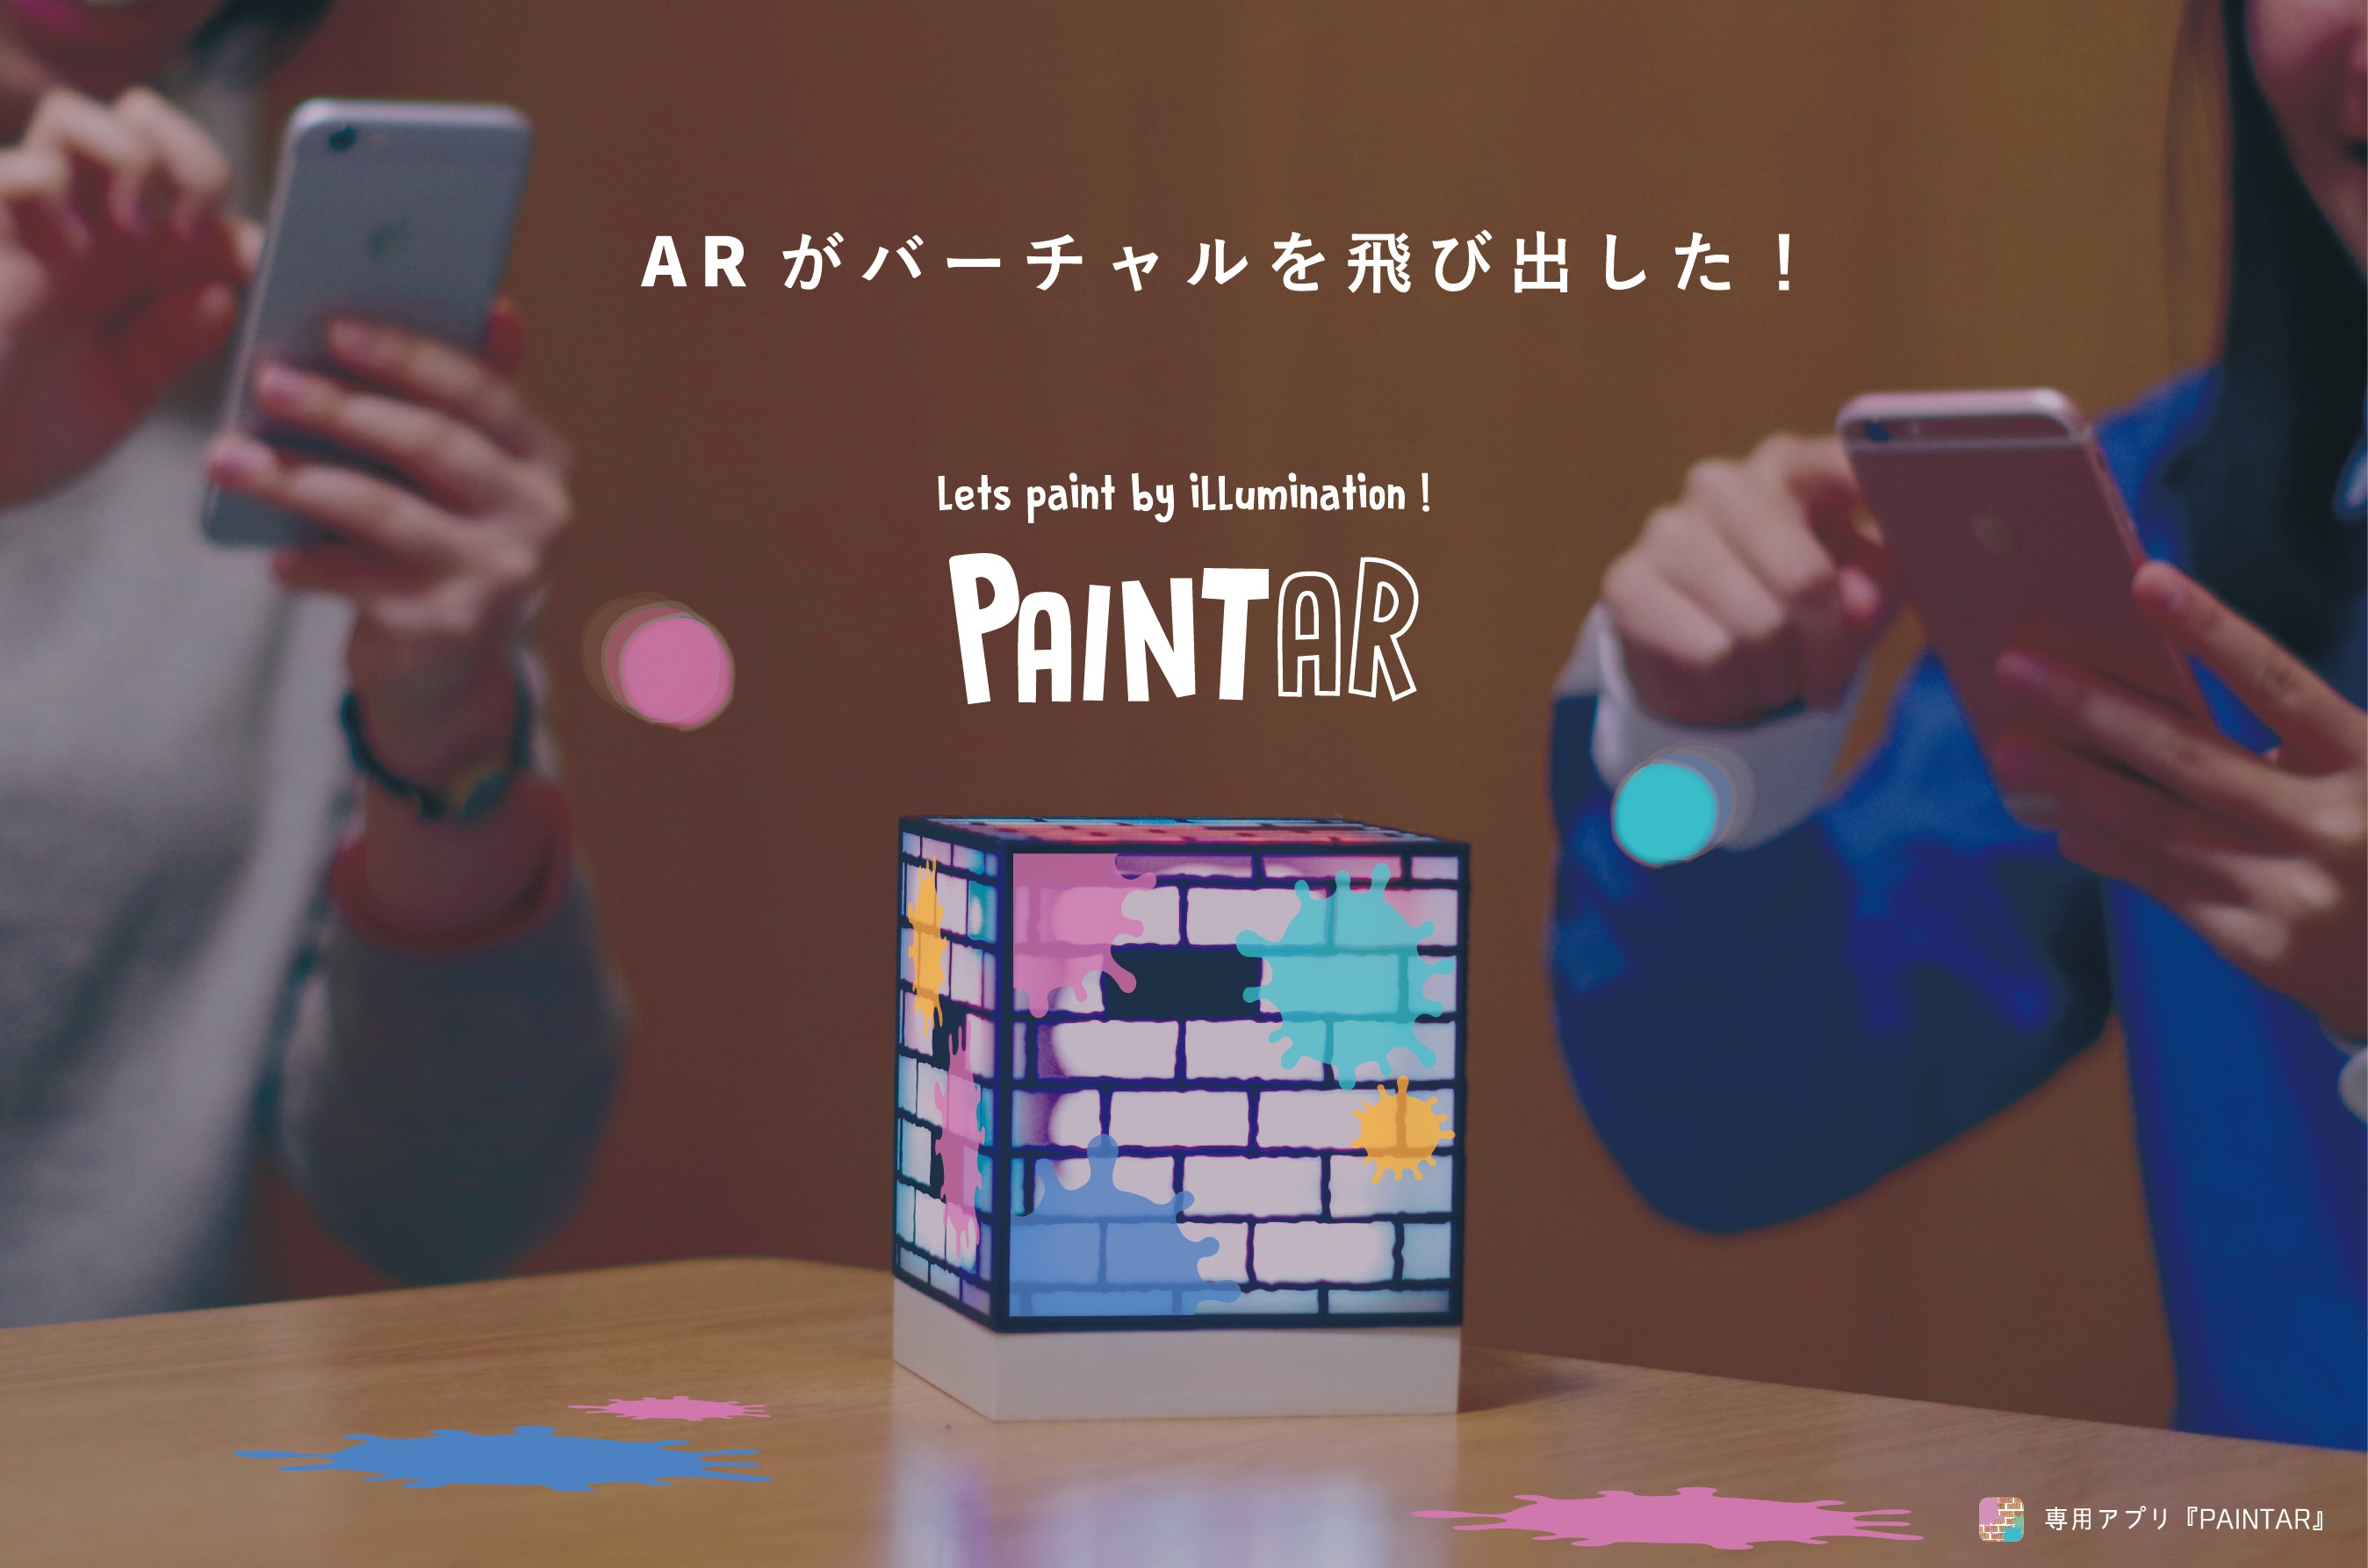 PAINTAR
-
 Achromatic World -いろのないせかい-
-
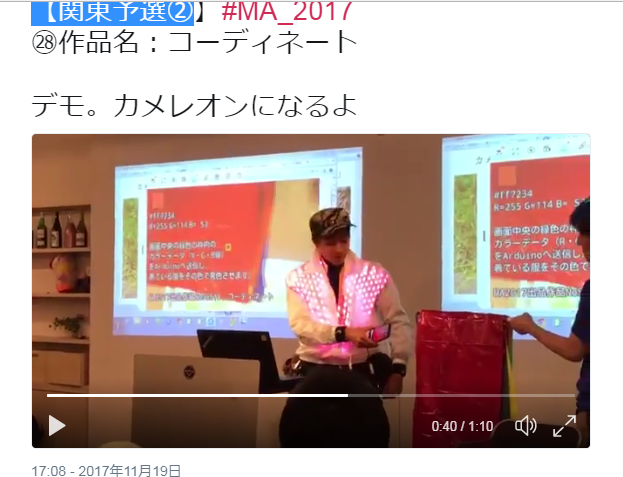 コーディネート
-
Proto lovers ♥