サーボアレイを用いた一軸ジンバルによるメカニカルディスプレイあるいはインスタレーション(仮称)
完成
© CC BY 4+
3469
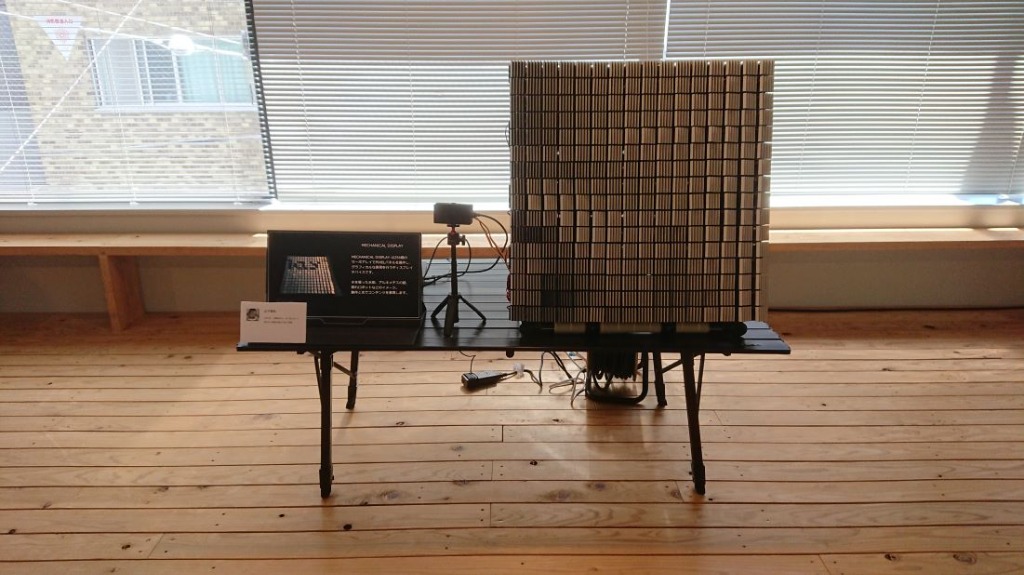
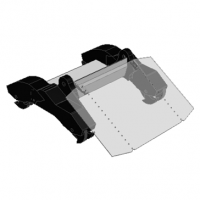
Title: Mechanical Display
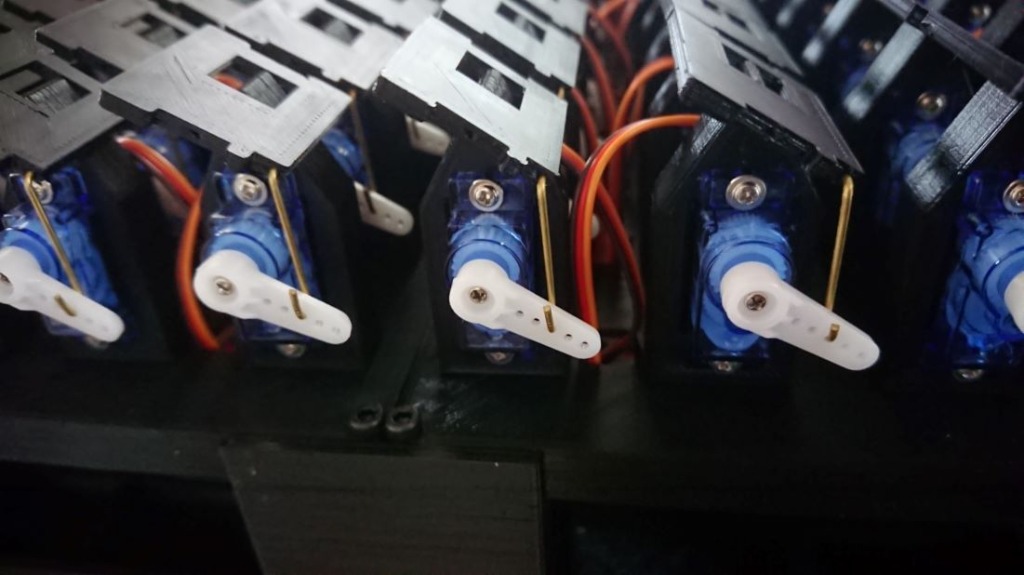
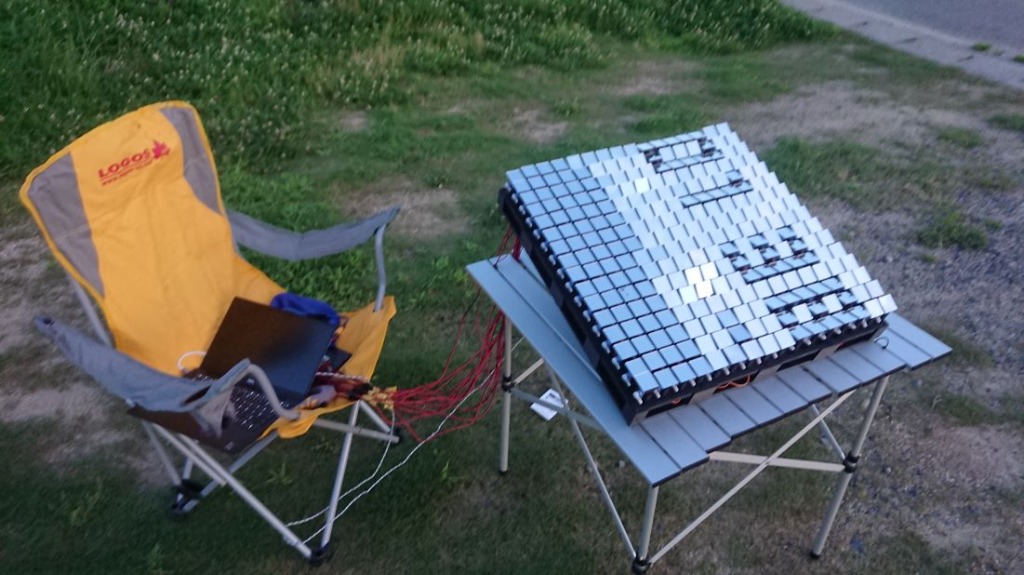
I constructed a mechanical display using a servo array.
-
 特別賞Mouser Make Awards 2023
-
 2位M5Stack Japan Creativity Contest 2023

- 動画
-
- 開発素材
-
ツール
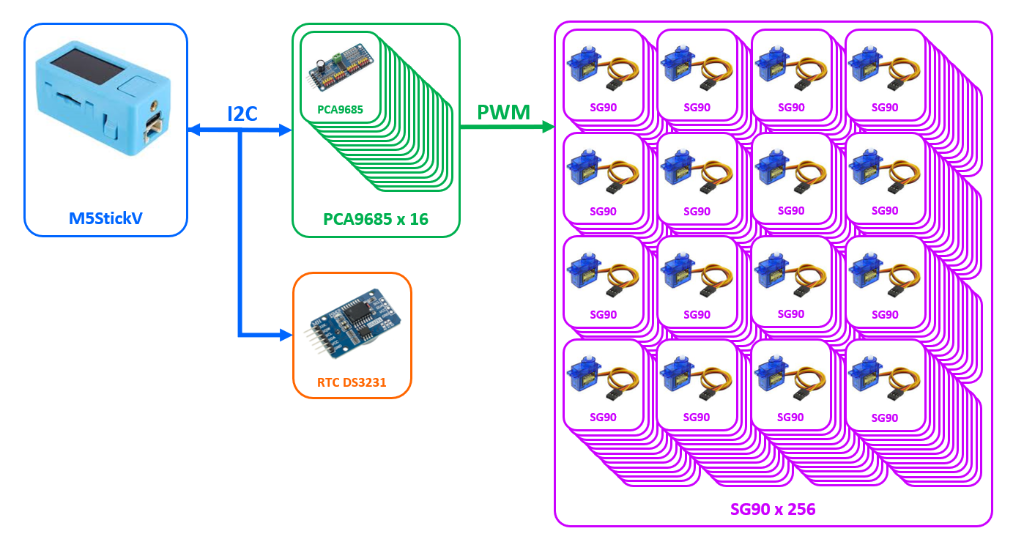
- システム構成
-

- ストーリー
-
- メンバー
-
-

- airpocket @airpocket
-
-
- 関連イベント
-
-
 Mouser Make Awards 20232023-05-01 開催
-
 M5Stack Japan Creativity Contest 20232023-07-15 開催
-
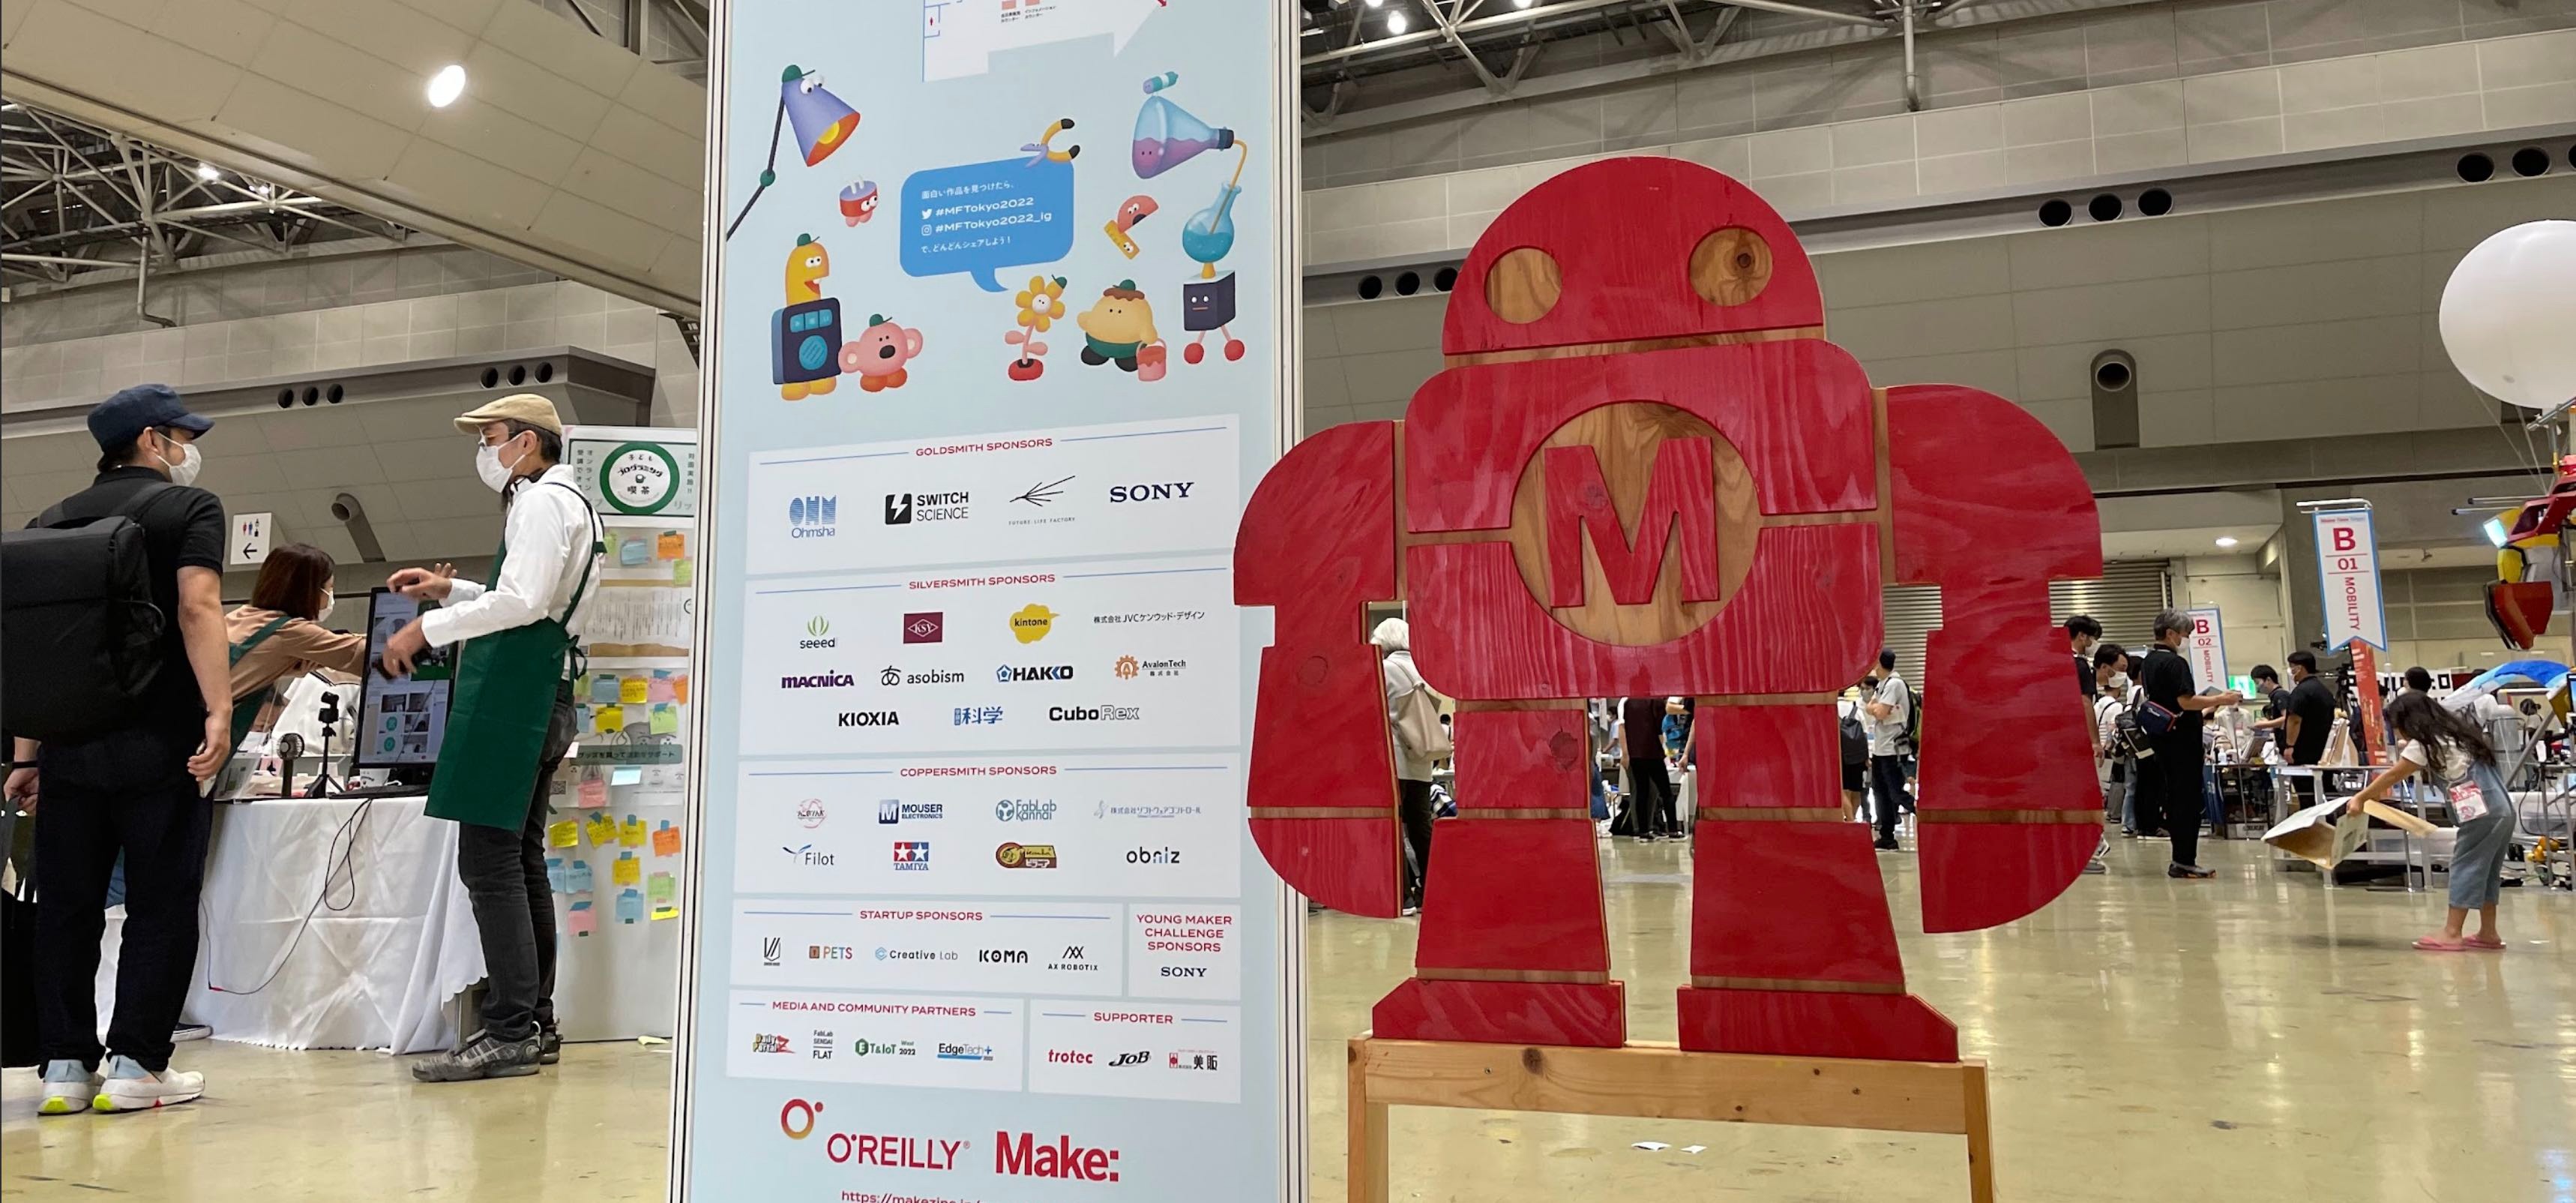 「Maker Faire Tokyo 2023」の出展作品まとめ(一部だよ|非公式だよ)2023-10-14 開催
-
- 関連リンク
-

-
-
- 同じニオイがする作品
-
-
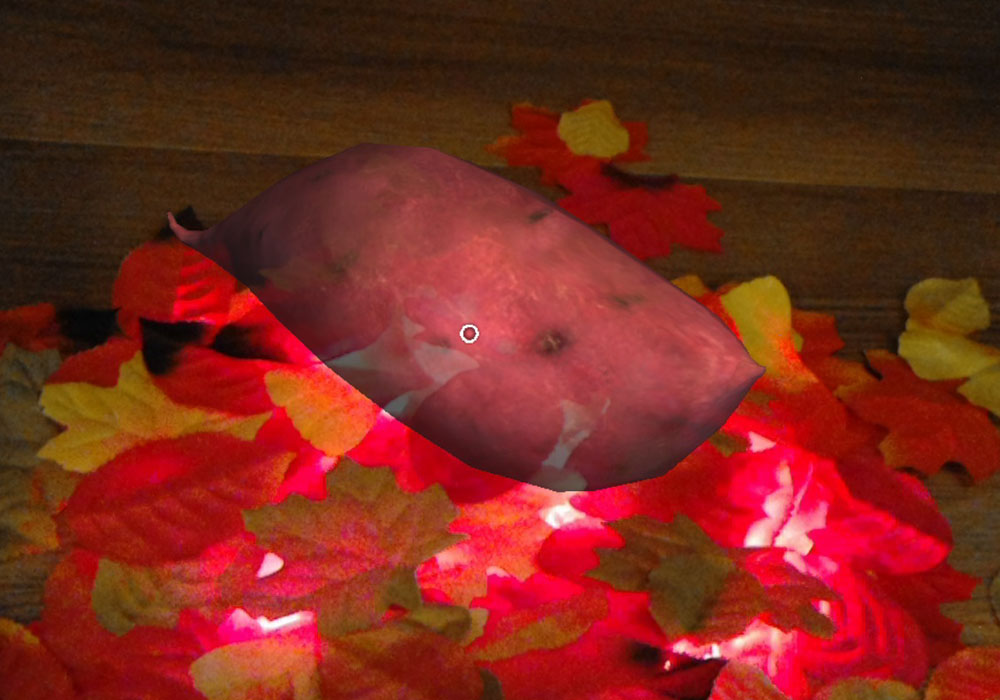 HoloTakibi(ホロたき火)
-
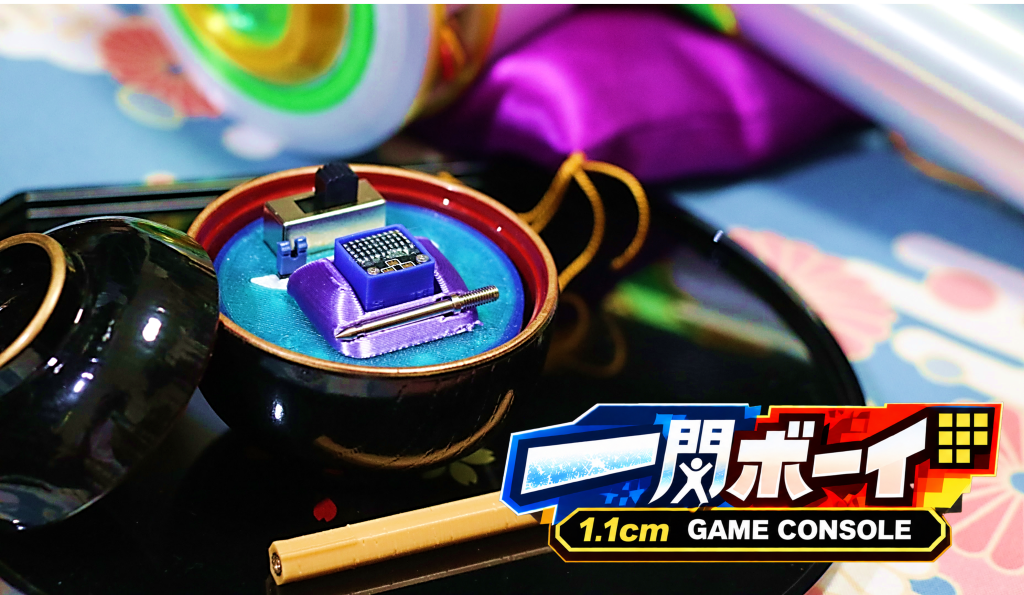 世界イチ小さい!?1.1cmのゲーム機 "一閃ボーイ!"
-
 TV Side Keyboard SparrowTV
-
 抵抗カラーコードLED時計
-
Proto lovers ♥


YouTubeで紹介させていただきました!
https://youtube.com/live/PyXM0EITzZ0
<最終審査員が選出>栗原さん:想像が楽しい作品。鏡のバージョンが特に好きで、映像と情報をどう扱うかを考えたくなりました。
1次元の回転制御で実現できる多彩さに感動し、物理原理を活かした探究心に心を打たれました。(講評を事務局が代筆)
大型のメカニカル ディスプレイ マトリックスです。これは非常に大きなプロジェクトです。16×16 サーボによって駆動されるこのようなアレイには、電源や周波数変調などの機能も含め、多くの制御アルゴリズムと多くのエンジニアリング上の問題が含まれます。レイアウト全体も非常によく設計されており、強力な設計能力と実践能力を備えています。